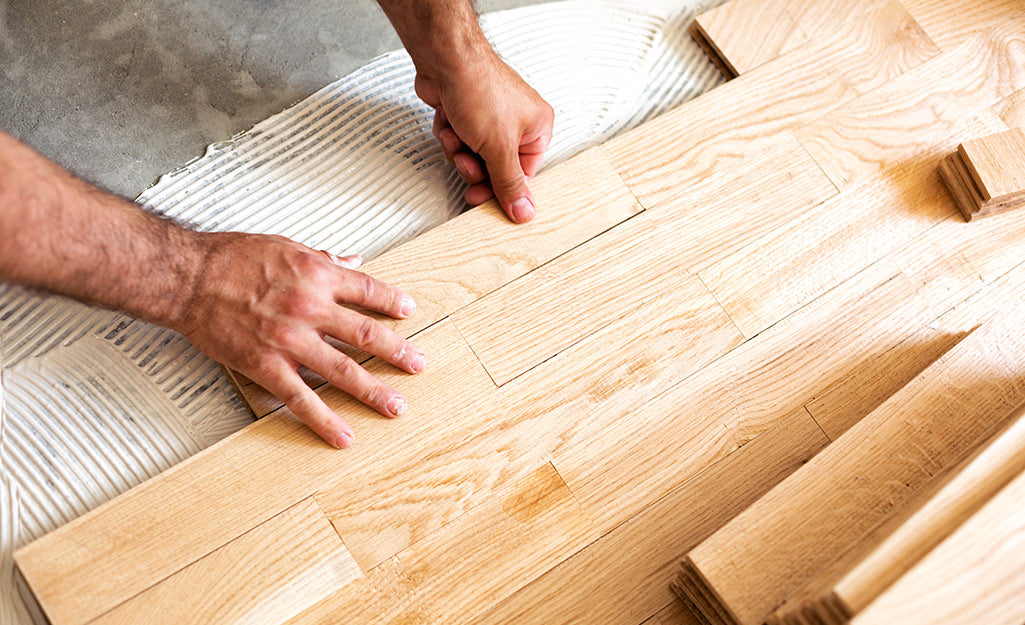
Hardwood Installation
Installing hardwood flooring can be a rewarding DIY project if you’re comfortable with the tools and techniques involved. The following step-by-step guide provides an overview of the process. However, please note that methods can vary depending on the type of hardwood, the installation method (nail-down, staple-down, or glue-down), and the specifics of your subfloor and environment
1. Gather Tools and Materials
Before you begin, ensure you have all the necessary tools and supplies:
- Hardwood flooring boards: Pre-finished or unfinished as per your project.
- Underlayment: Depending on your subfloor and installation method.
- Moisture barrier: For concrete or potentially damp subfloors.
- Nail gun or flooring stapler: For nail-down installations.
- Adhesive: If doing a glue-down installation.
- Measuring tape, chalk line, and square: For accurate layout.
- Miter saw and table saw: For cutting boards to length.
- Pry bar, tapping block, and mallet: For fitting boards snugly.
- Safety gear: Gloves, eye protection, and a dust mask.
- Flooring nailer/stapler (if applicable): Make sure it is compatible with hardwood flooring.
- Spacers or wedges: To maintain the recommended expansion gap around the room’s perimeter.
2. Prepare the Subfloor
A proper subfloor is essential for a long-lasting hardwood floor:
- Clean the subfloor: Remove debris, dust, and old adhesive.
- Inspect for levelness: Use a level to check for high or low spots. Sand down or fill in areas as needed.
- Ensure dryness: For concrete subfloors, test for moisture. If moisture is a concern, install a moisture barrier.
- Install underlayment (if recommended): This can help with sound dampening and provide a smoother surface.
3. Acclimate the Hardwood Flooring
Hardwood expands and contracts with changes in humidity:
- Acclimation period: Store the hardwood in the room where it will be installed for at least 3–7 days. This allows the boards to adjust to the room’s temperature and humidity.
- Stack the boards: Lay them out flat in a single layer if possible. Follow manufacturer recommendations regarding stacking and spacing.
4. Plan Your Layout
Proper layout planning helps minimize waste and ensures an attractive installation:
- Decide on the direction: Common practice is to run boards parallel to the longest wall or the main light source.
- Measure the room: Determine where the first row will begin and use a chalk line to create a straight guide.
- Plan for expansion gaps: Leave at least a 1/4-inch gap (or as recommended by the manufacturer) around the room’s perimeter to allow for natural expansion.
5. Begin Installation
-
Start with the First Row:
- Mark a Reference Line: Use a chalk line to mark a straight line along the starting wall. This line will serve as a guide for the first row.
- Expansion Gap: Place spacers (typically 1/2 inch to 3/4 inch) between the wall and the first row of boards to allow for expansion.
- Position the Boards: Place the first board along the chalk line with the groove side facing the wall (if using a nail-down method). Ensure it’s straight.
-
Fastening the Boards:
-
Nailing or Stapling: Use a flooring nailer (or stapler) to secure the boards to the subfloor. Typically, you will nail through the tongue of the board at an angle. Follow the manufacturer’s instructions regarding the number and placement of nails.
-
-
-
Use a Tapping Block: To ensure boards fit tightly together without damaging them, use a tapping block and a mallet.
-
6. Finishing Touches
-
Install transition moldings and baseboards:
- Once the flooring is fully installed, remove the spacers.
- Cover the expansion gaps with quarter-round or baseboard moldings, being careful not to pin the floor down.
-
Inspect the floor:
- Walk over the floor to ensure all boards are securely installed and that there are no gaps or loose sections.
-
Allow for settling:
- If you’ve used glue, follow the adhesive’s curing time instructions before heavy use of the floor.
7. Post-Installation Care
- Clean the floor: Vacuum or sweep away dust and debris. Use manufacturer-approved cleaning products.
- Monitor humidity: Maintain a stable indoor environment to minimize expansion or contraction.
- Regular maintenance: Follow the care guidelines provided by your flooring manufacturer to keep your hardwood floor looking its best.
